
How to use IrisPrompt
From an idea to a finished iris in a few minutes
-
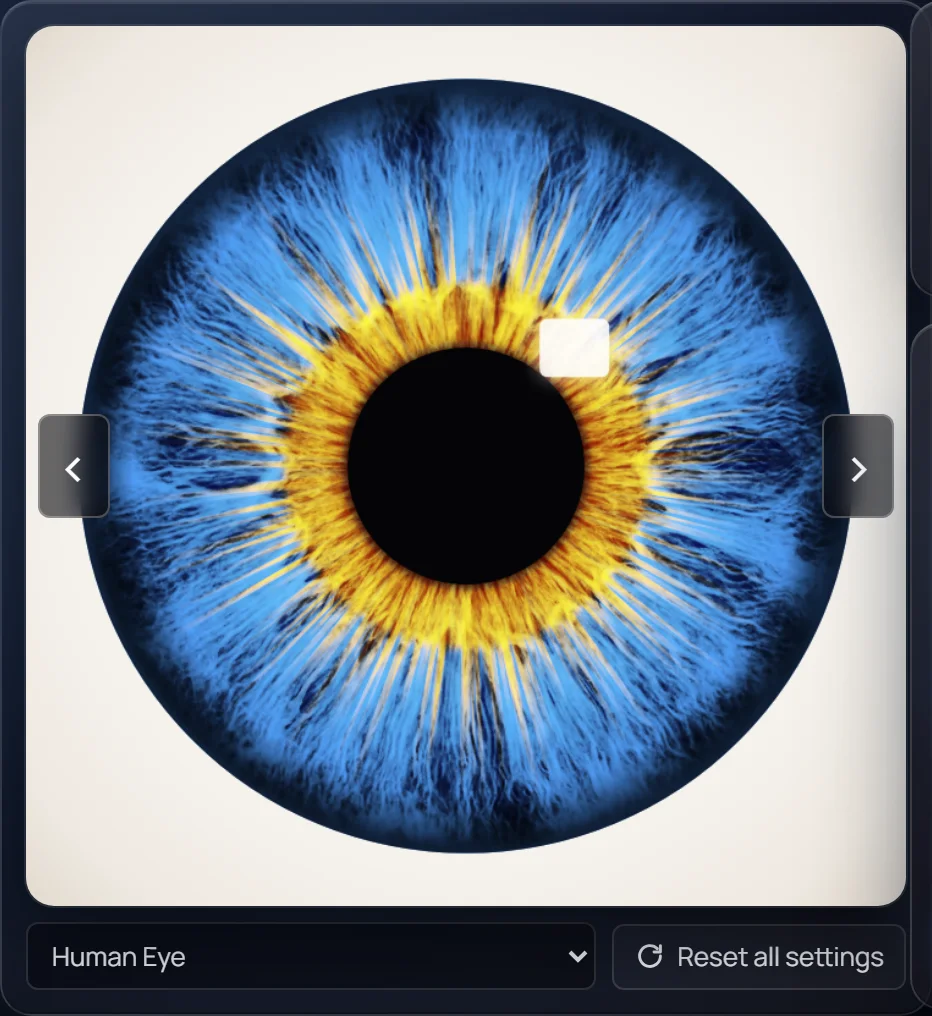
Pick the eye type
Choose it in the tabs under the logo (Human, Cat, Dragon…), with the ‹ › arrows on the preview, or swipe the preview sideways on a phone. Each type has its own pupil shape and prompt wording.
-
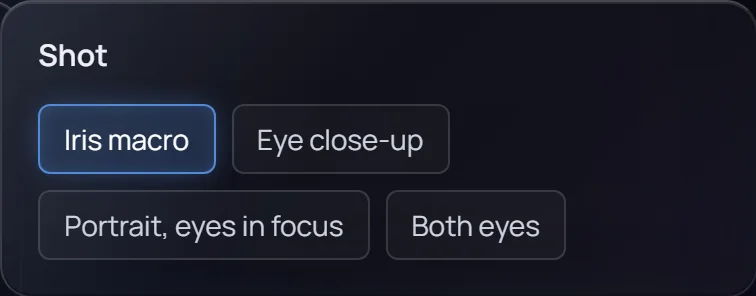
Choose the shot
Iris macro fills the frame with the iris, Eye close-up shows the whole eye, Portrait puts a face around it. With Both eyes you set up the left and right eye separately — they can even be different types.
-
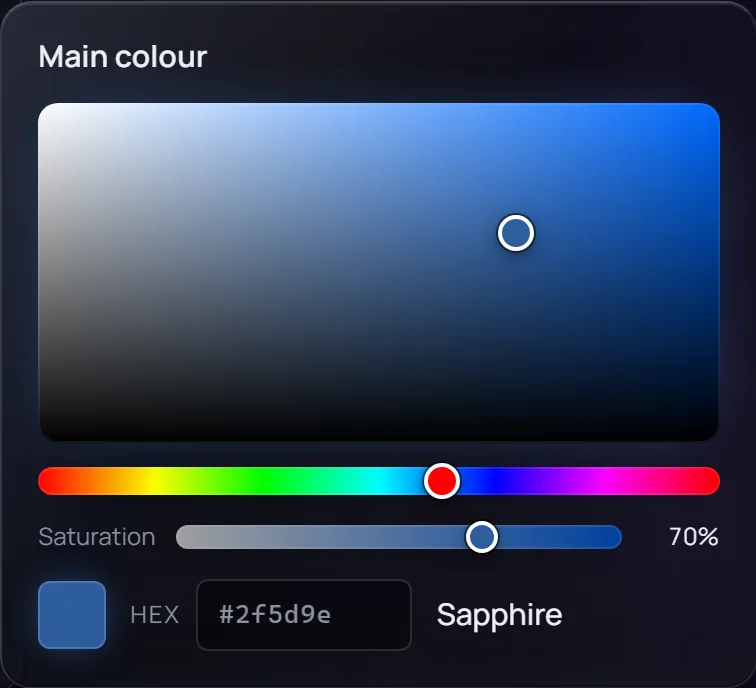
Set the colour
Pick the Main colour. For two colours in one iris, turn on Heterochromia (central, sectoral, half-and-half or patchy), choose the second colour and adjust rotation, zone size and how soft the transition is.
-
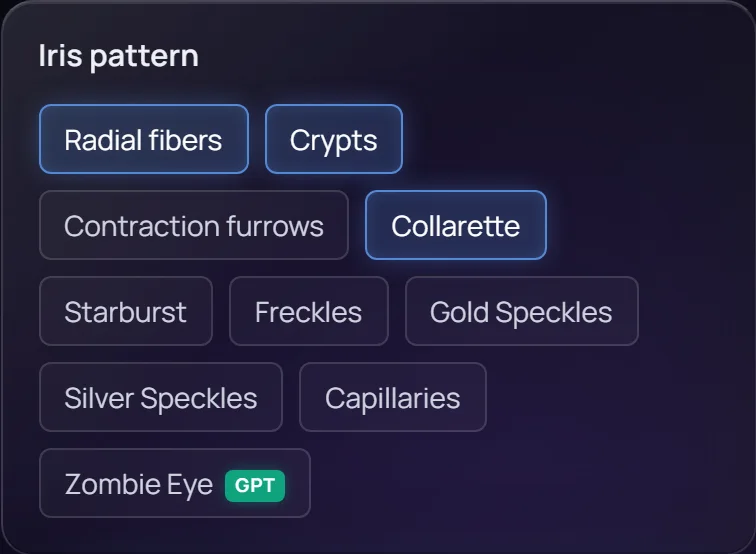
Add details
Combine any Iris patterns (fibers, crypts, gold speckles, Zombie Eye…), then tune the Limbal ring — the dark ring around the iris — the Pupil size and shape, the Catchlight and the Style. The preview updates as you go; ↻ Another pattern shuffles it, ⬇ PNG saves it.
Options with this badge (Petals, Spikes, Crown, Inkblot, Burst, Stained Glass, Zombie Eye) work best in GPT Image / Flux.
-
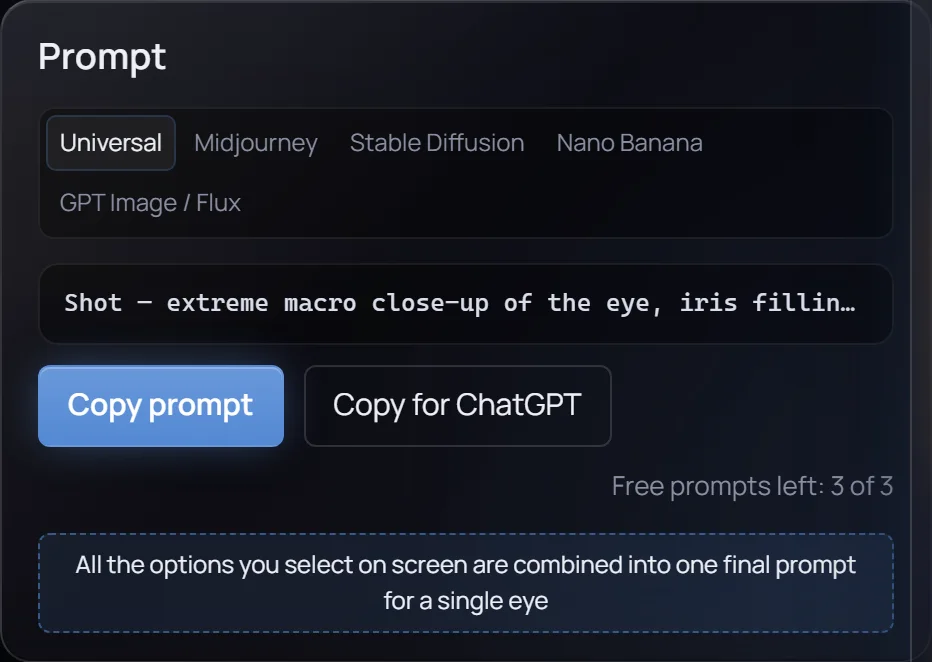
Copy the prompt
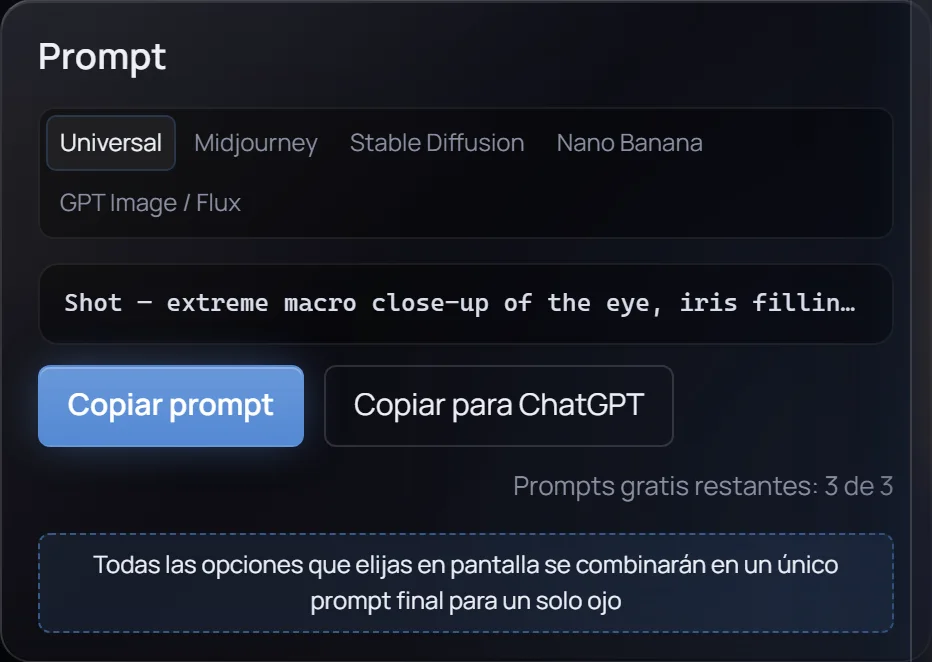
Above the button, choose your model: Universal, Midjourney, Stable Diffusion, Nano Banana or GPT Image / Flux — the prompt is phrased for it. Press Copy prompt, or Copy for ChatGPT to get the GPT Image format whatever is selected.
-
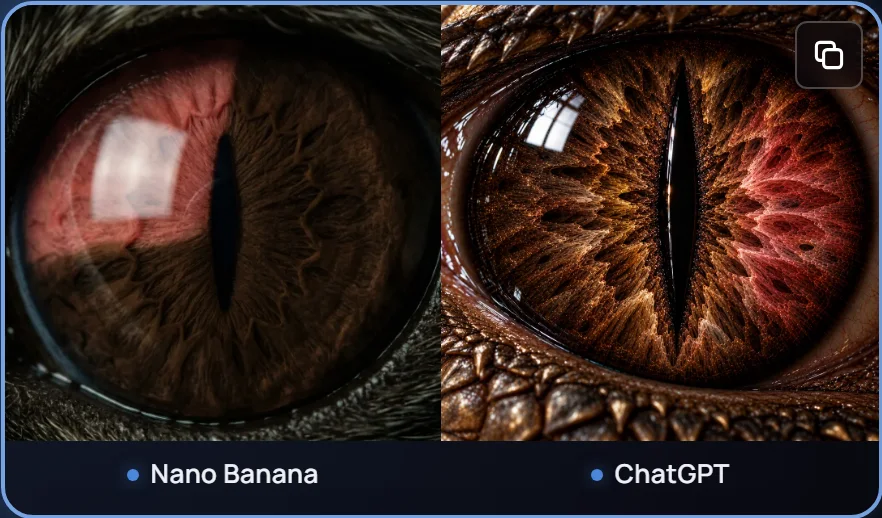
Generate
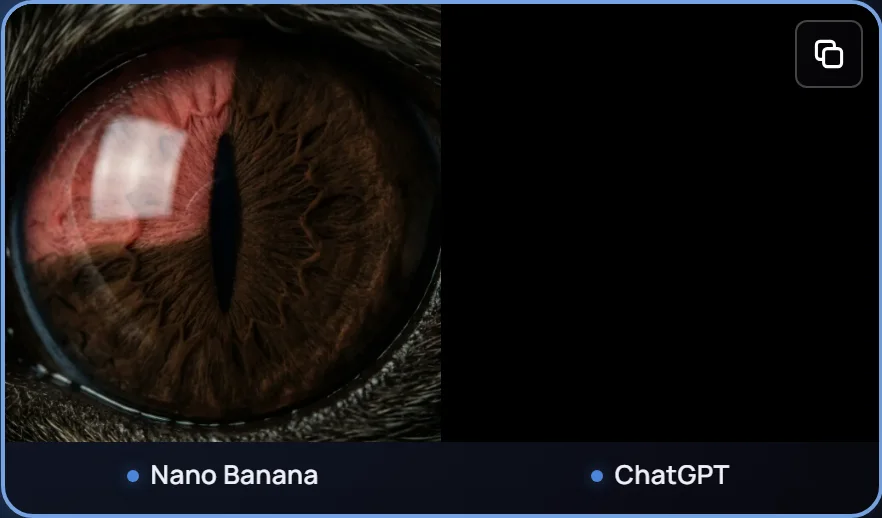
Paste the prompt into your AI tool. Make a few versions: the preview is an illustration, and each model reads details its own way. Prompts are always in English — image models understand it best.
Free prompts and subscription
You can try every option for free and copy 3 prompts. A subscription ($10/month, cancel anytime) unlocks unlimited prompts and copying prompts from the Gallery. On another device, use Sign in with the email you subscribed with.
Start over any time with Reset all settings next to the eye type. Questions? Write to .
Как пользоваться IrisPrompt
От идеи до готовой радужки за несколько минут
-
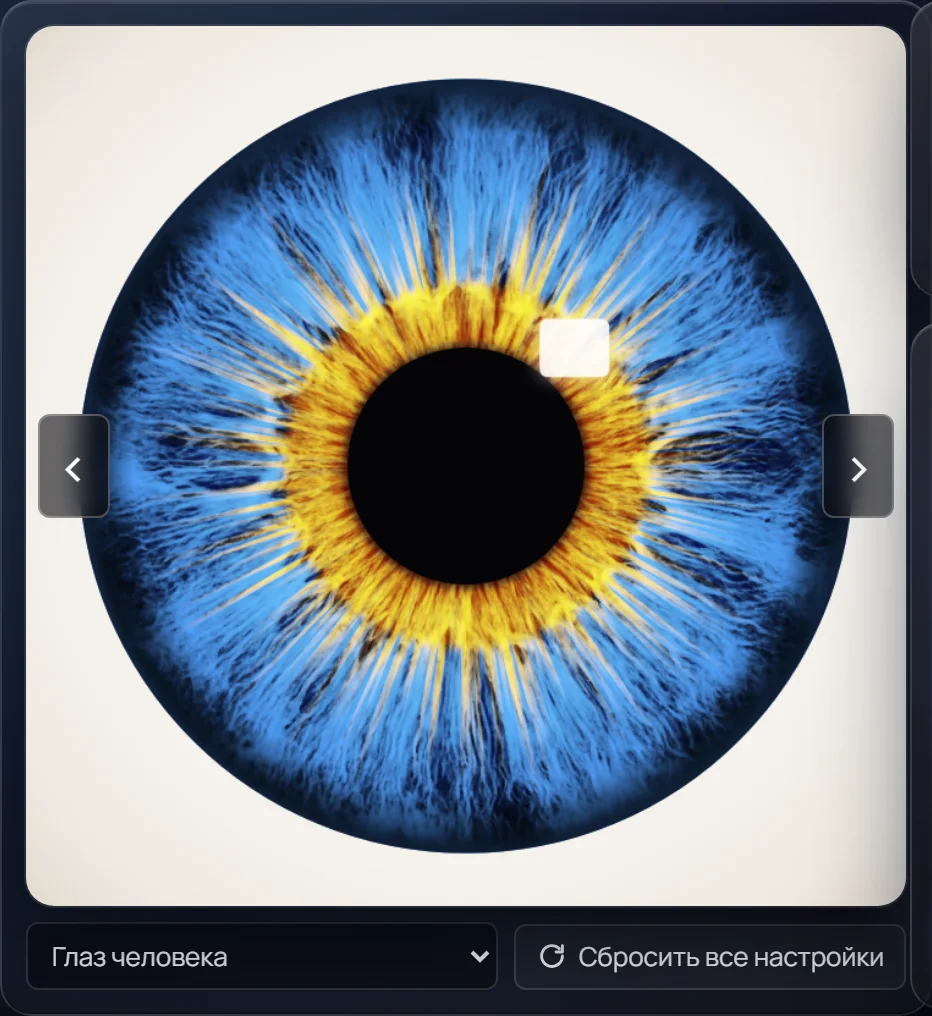
Выберите тип глаза
Во вкладках под логотипом (Человек, Кошка, Дракон…), стрелками ‹ › на превью или свайпом по превью на телефоне. У каждого типа своя форма зрачка и свои формулировки промпта.
-
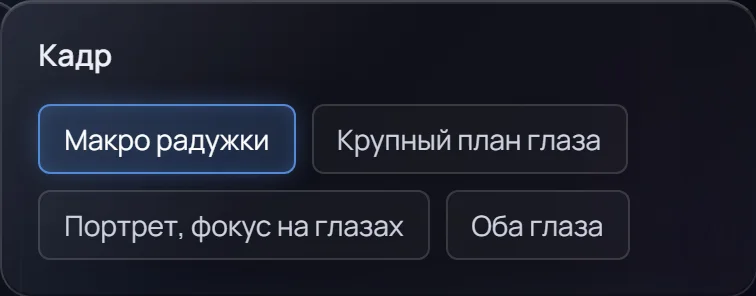
Выберите кадр
Макро радужки — радужка на весь кадр, Крупный план глаза — глаз целиком, Портрет — лицо с фокусом на глазах. В режиме Оба глаза левый и правый настраиваются отдельно — они могут быть даже разного типа.
-
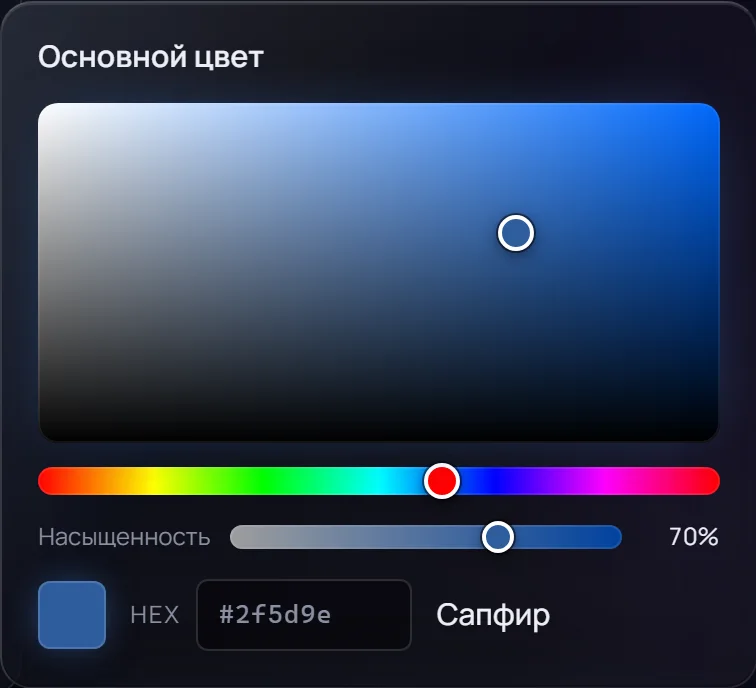
Задайте цвет
Выберите Основной цвет. Чтобы в радужке было два цвета, включите Гетерохромию (центральную, секторальную, пополам или пятнами), выберите второй цвет и настройте поворот, размер зоны и мягкость перехода.
-
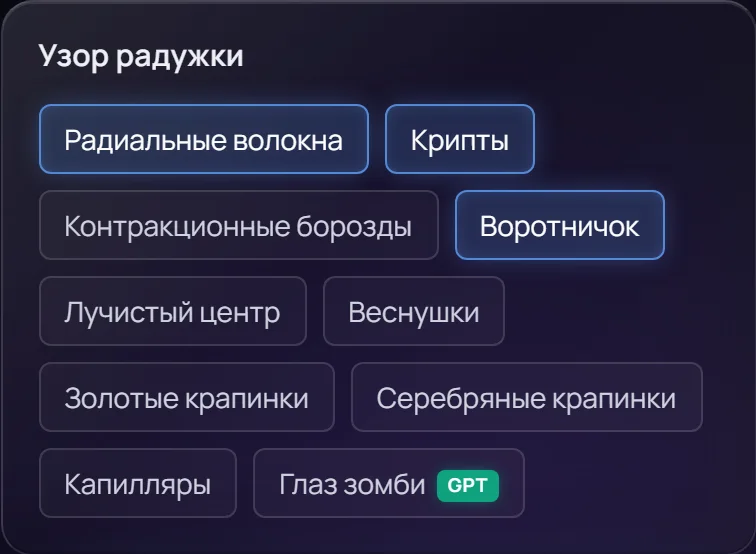
Добавьте детали
Сочетайте любые узоры радужки (волокна, крипты, золотые крапинки, Zombie Eye…), затем настройте лимбальное кольцо — тёмный ободок вокруг радужки, — размер и форму зрачка, блик и стиль. Превью меняется сразу; ↻ Другой узор перемешивает его, ⬇ PNG сохраняет картинку.
Варианты с этим значком (лепестки, шипы, корона, клякса, взрыв, витраж, Zombie Eye) лучше всего получаются в GPT Image / Flux.
-
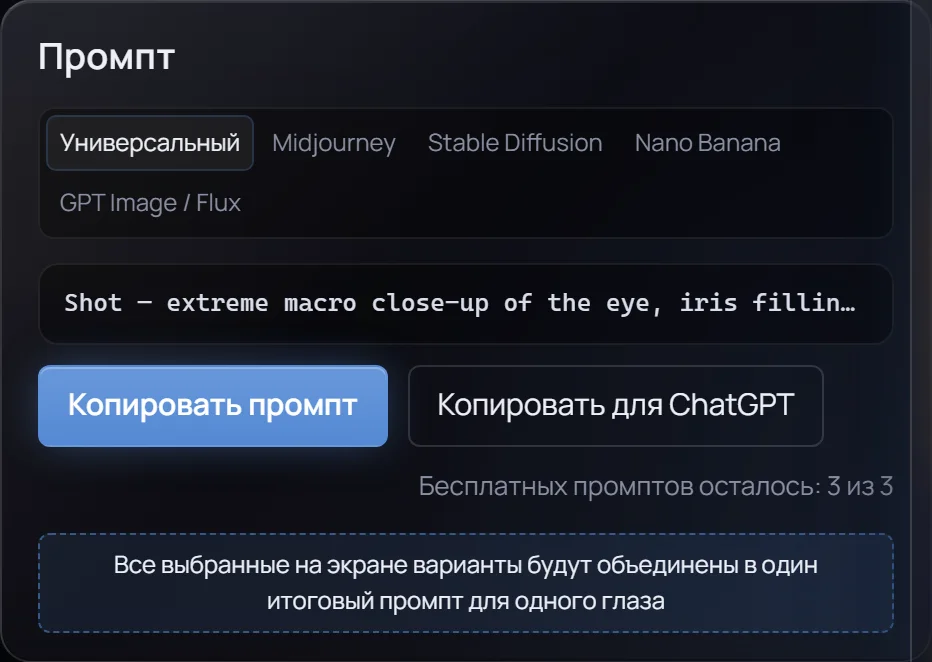
Скопируйте промпт
Над кнопкой выберите модель: Универсальный, Midjourney, Stable Diffusion, Nano Banana или GPT Image / Flux — промпт подстроится под неё. Нажмите Копировать промпт или Копировать для ChatGPT, чтобы получить формат GPT Image при любом выбранном варианте.
-
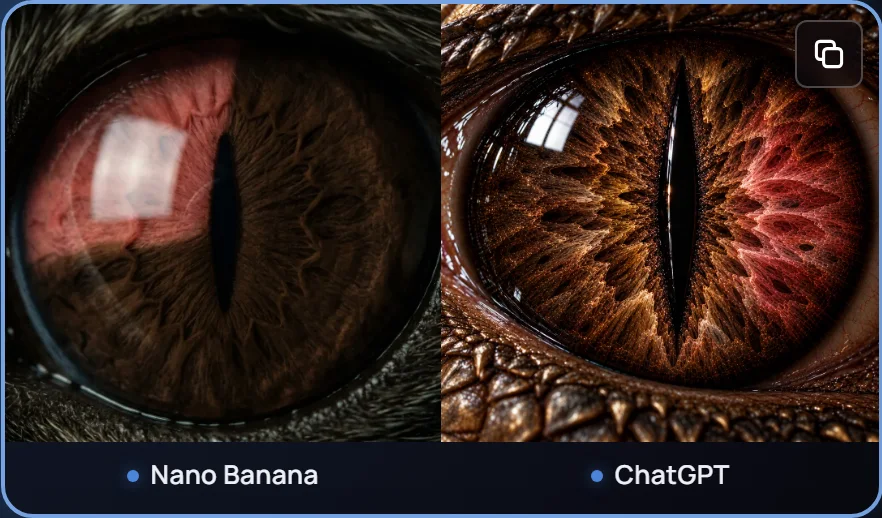
Сгенерируйте
Вставьте промпт в свою нейросеть. Сделайте несколько вариантов: превью — это иллюстрация, а каждая модель понимает детали по-своему. Промпты всегда на английском — его нейросети понимают лучше всего.
Бесплатные промпты и подписка
Все настройки можно пробовать бесплатно и скопировать 3 промпта. Подписка ($10/мес, отмена в любой момент) открывает безлимит промптов и копирование промптов из Галереи. На другом устройстве нажмите Войти и укажите email, с которым оформляли подписку.
Начать заново можно кнопкой Сбросить все настройки рядом с типом глаза. Вопросы — пишите на .
Cómo usar IrisPrompt
De una idea a un iris terminado en unos minutos
-
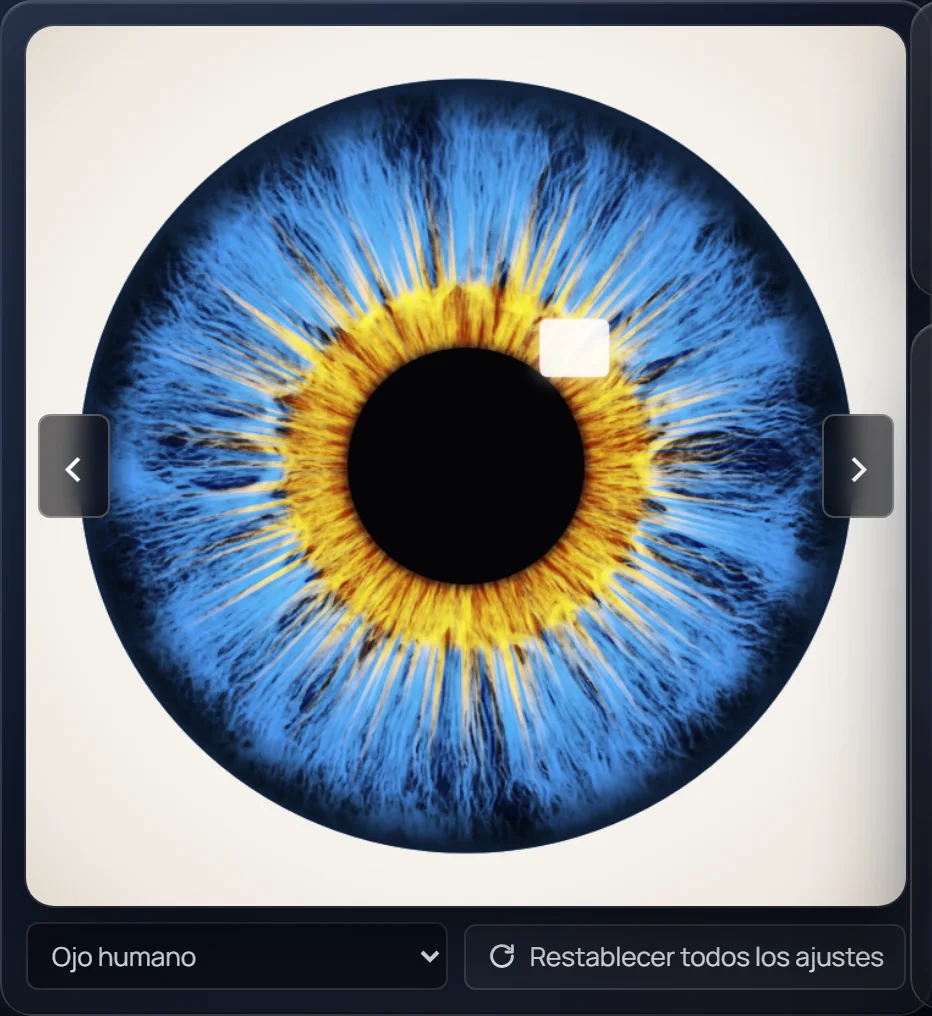
Elige el tipo de ojo
En las pestañas bajo el logo (Humano, Gato, Dragón…), con las flechas ‹ › de la vista previa o deslizando la vista previa en el móvil. Cada tipo tiene su propia pupila y su propia redacción del prompt.
-
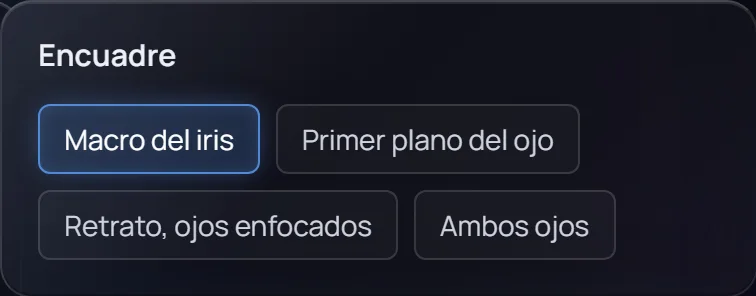
Elige el encuadre
Macro del iris llena el cuadro con el iris, Primer plano del ojo muestra el ojo entero, Retrato añade la cara. Con Ambos ojos configuras el izquierdo y el derecho por separado — pueden ser incluso de tipos distintos.
-
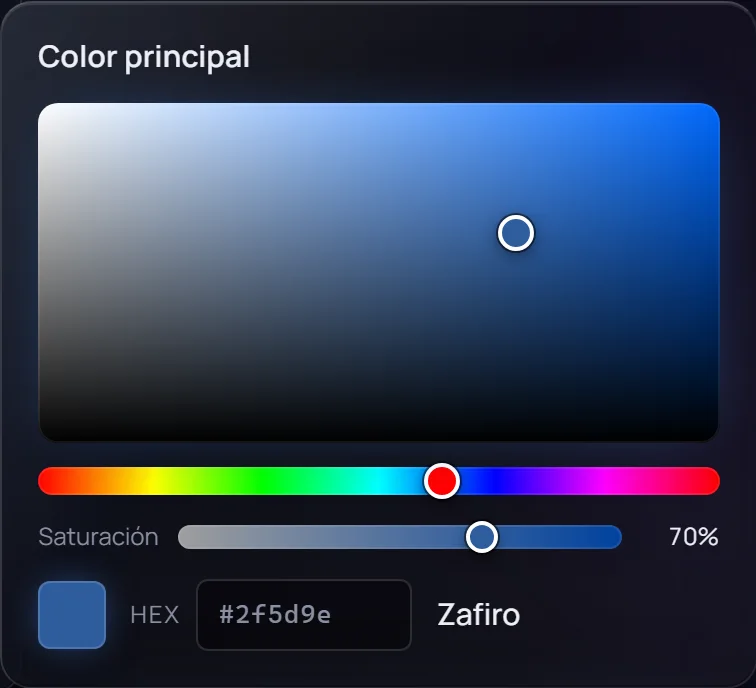
Define el color
Elige el Color principal. Para dos colores en un iris, activa la Heterocromía (central, sectorial, mitad y mitad o en manchas), elige el segundo color y ajusta el giro, el tamaño de la zona y la suavidad de la transición.
-
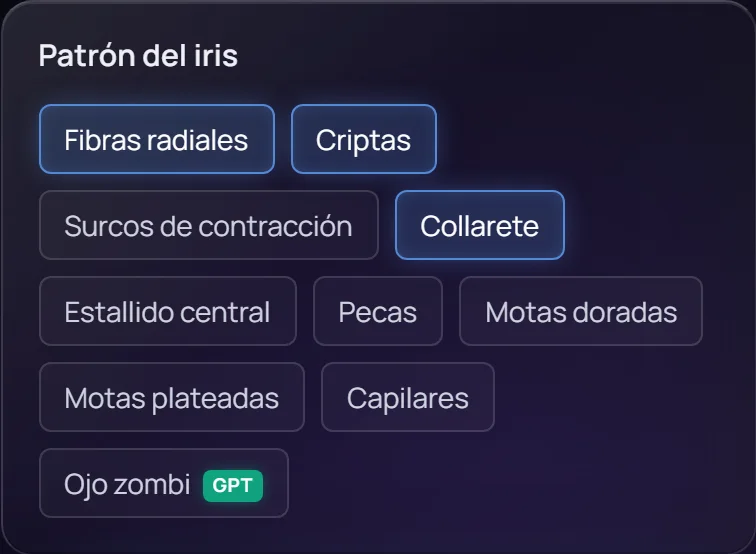
Añade detalles
Combina patrones del iris (fibras, criptas, motas doradas, Zombie Eye…) y ajusta el anillo limbal — el aro oscuro alrededor del iris —, el tamaño y la forma de la pupila, el reflejo y el estilo. La vista previa cambia al instante; ↻ Otro patrón la varía y ⬇ PNG la guarda.
Las opciones con esta marca (pétalos, púas, corona, mancha, estallido, vitral, Zombie Eye) dan su mejor resultado en GPT Image / Flux.
-
Copia el prompt
Sobre el botón, elige tu modelo: Universal, Midjourney, Stable Diffusion, Nano Banana o GPT Image / Flux — el prompt se adapta a él. Pulsa Copiar prompt, o Copiar para ChatGPT para obtener el formato GPT Image sea cual sea la selección.
-
Genera
Pega el prompt en tu herramienta de IA. Prueba varias versiones: la vista previa es una ilustración y cada modelo interpreta los detalles a su manera. Los prompts siempre están en inglés — es el idioma que mejor entienden los modelos.
Prompts gratis y suscripción
Puedes probar todas las opciones gratis y copiar 3 prompts. La suscripción ($10/mes, cancela cuando quieras) desbloquea prompts ilimitados y copiar los prompts de la Galería. En otro dispositivo, usa Entrar con el correo con el que te suscribiste.
Empieza de cero cuando quieras con Restablecer todos los ajustes, junto al tipo de ojo. ¿Preguntas? Escribe a .